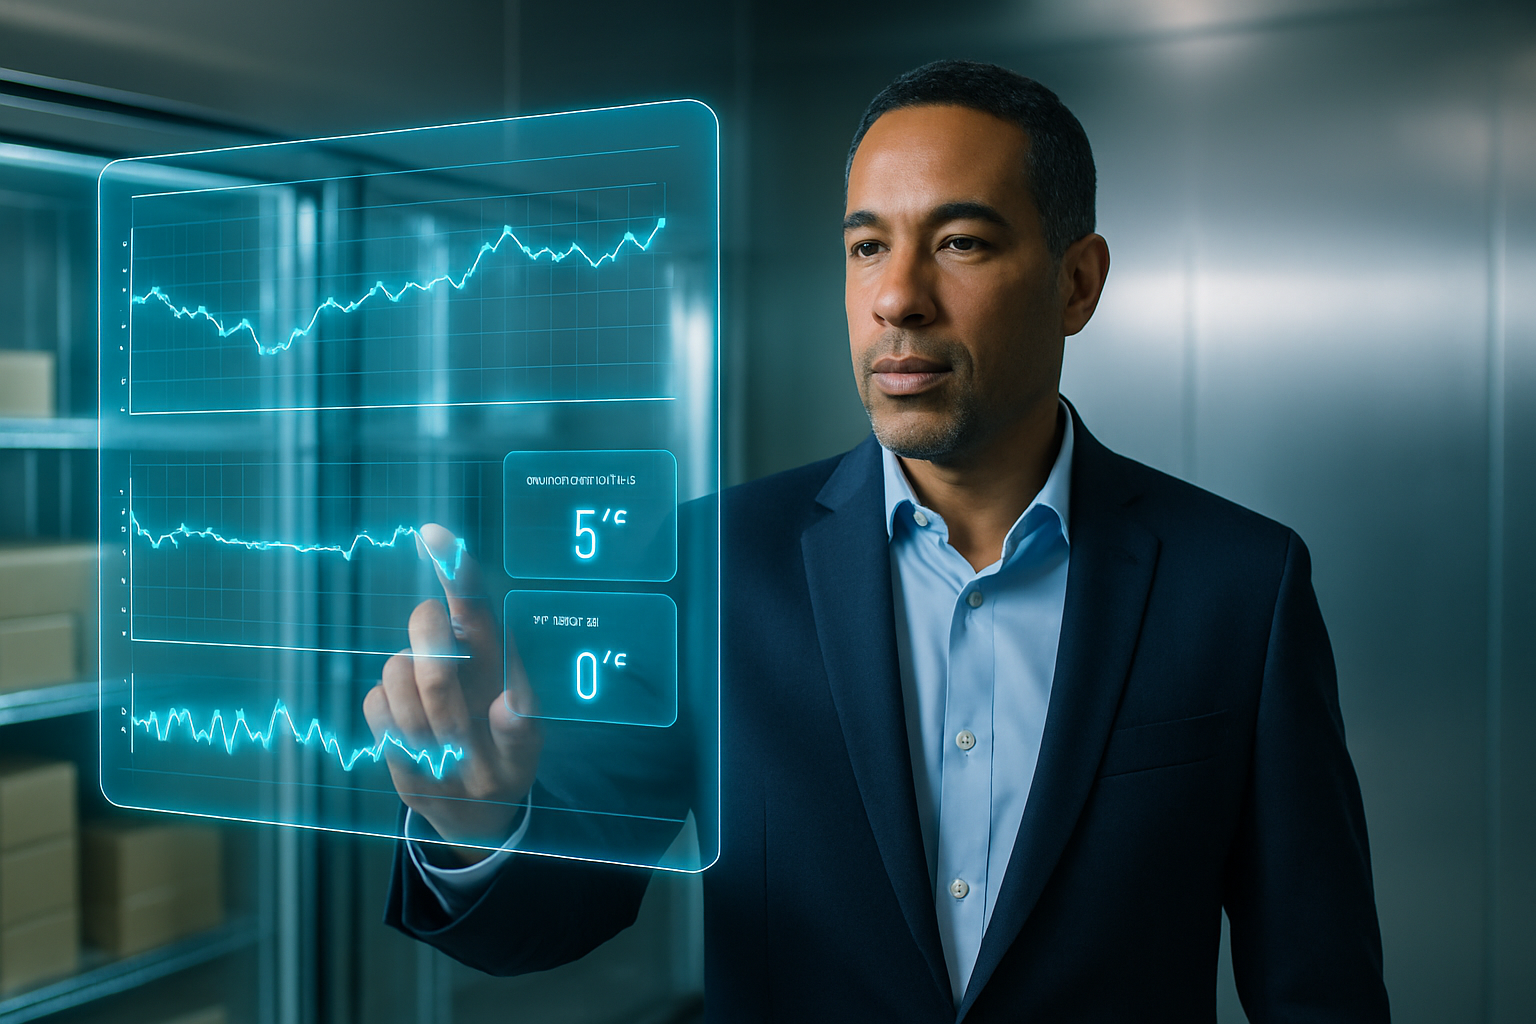
A walk-in freezer fresh off a walk-in freezer installation sits at 5°F four hours after startup — setpoint shows -10°F on the PLC, compressor runs continuously, evaporator fans cycle normally. Product temperature hasn't dropped since commissioning. The operator calls within the first shift because frozen goods are softening, and every hour of delay risks a total product loss worth thousands of dollars.
Post-installation temperature failures cost more than service time — they trigger insurance claims, delayed openings, and lost confidence in new equipment before the first invoice is even paid.
Quick Diagnosis Summary
Start with these field checks in order — each takes under five minutes:
- If suction pressure reads 18–22 psig (R-404A), charge is correct; look at controls first.
- If PLC display shows -10°F but box thermometer reads 5°F, sensor offset or placement error.
- If evaporator coil has frost only on first two circuits, TXV bulb loose or mis-positioned.
- If defrost terminated in last 90 minutes, wait for full recovery cycle before diagnosing charge.
- If compressor cycles every 3–4 minutes, anti-short-cycle timer set too aggressively or differential too narrow.
- If condenser fan runs but head pressure below 180 psig in 70°F ambient, low charge or restriction.
What's Actually Happening
The freezer compressor runs without cycling off, evaporator fans operate on schedule, and the digital controller displays the correct setpoint — yet box temperature stalls between 0°F and 5°F instead of reaching the programmed -10°F target. Defrost cycles execute on time, coil thaws completely, and recovery begins normally before plateauing again. No alarms trigger because the system reads its own sensor data as acceptable, even when a calibrated thermometer placed mid-box contradicts it by seven degrees.
Why It Happens (The Refrigeration Logic)
AI-enabled systems introduce failure points absent in analog controls: MQTT sensor offsets, PLC digital-output wiring errors, and inherited defrost schedules from prior equipment profiles. A freezer that won't pull below 5°F typically fails in one of three layers — mechanical (refrigerant charge, TXV positioning), electrical (sensor calibration, relay mapping), or control logic (setpoint vs. differential mismatch, premature defrost initiation).
Mechanically, superheat and subcooling field measurements reveal whether the TXV feeds correctly. Target superheat at the evaporator outlet is 8–12°F; anything above 15°F means the bulb isn't reading suction temperature accurately — common when installers skip thermal paste or leave the bulb uninsulated. Subcooling at the condenser should sit at 10–15°F; below 8°F indicates low charge, above 18°F suggests overcharge or a restriction before the TXV.
Control-layer faults appear when the PLC polls a sensor every 15 seconds but that sensor carries a +2°F offset from factory calibration — the system believes it has reached -8°F when the box actually sits at -6°F, and the compressor cuts out on a 5°F differential before真正 pulldown completes. Real case pattern: a new install read -10°F on the PLC while three separate calibrated probes mid-box averaged -3°F; the MQTT sensor was mounted against the evaporator return airstream instead of product level, reading supply air temperature instead of ambient load.
Defrost logic compounds the issue when a defrost schedule optimization for freezers inherited from a cooler profile triggers every six hours instead of every twelve — each premature defrost cycle dumps 45–50°F heat into the coil, requires 30–40 minutes of pulldown to recover, and the compressor never sustains the run time needed to reach true setpoint before the next defrost interrupts it.
What You'll See — Real-World Signs
A freezer that won't break 5°F after installation exhibits patterns distinct from runtime failures. Watch for:
- Box temperature oscillates between 3°F and 7°F but never drops below zero, even after 12-hour runtime with no door openings.
- Compressor runs continuously with no cycling — short-cycle timer never triggers because setpoint is never satisfied.
- Evaporator coil builds frost unevenly: bottom third iced solid, top third barely frosted, indicating refrigerant distribution problems or airflow restriction.
- PLC display shows -8°F setpoint but MQTT dashboard reports 5°F box temp with no alarm condition flagged.
- Suction line sweats heavily within 18 inches of compressor, suggesting liquid floodback or TXV hunting.
Why This Matters for Your Business
A freezer stuck at 5°F violates HACCP for most frozen goods — FDA requires 0°F or below for long-term storage. Product in the danger zone for 48 hours means full inventory loss, often $8,000–$15,000 for a mid-size restaurant. Compressor running non-stop burns 40–60% more energy than normal duty cycle and cuts expected lifespan in half. Installation crews face callback costs and delayed commissioning sign-off. Operators lose confidence in AI monitoring when the system reports normal operation while product thaws. Real-time walk-in freezer installation services include commissioning verification to catch these failures before product loads.
How a Technician Walks Through This
Start with mechanical basics before touching the PLC. Confirm refrigerant charge first: superheat and subcooling field measurements must hit 8–12°F and 10–15°F respectively at steady state. Low charge shows high superheat and low subcooling; overcharge shows low superheat and high subcooling. Both prevent proper pulldown.
Control System Verification
Compare PLC setpoint register to what the EMS dashboard displays — we've found 12°F offsets where installer entered Celsius value into Fahrenheit field. Check sensor calibration: pull the box probe, read it in ice water (should read 32°F ±1°F), then compare to PLC input value. Cheap thermistors drift 2–3°F out of box. Verify defrost schedule isn't firing every 4 hours — new installs sometimes inherit aggressive defrost schedule optimization for freezers settings from the template, terminating on 30-minute timeout instead of coil temp, which floods the box with heat. Confirm evaporator fan delay post-defrost: fans must wait 60–90 seconds or they blow warm air across product before coil re-cools.
Common Mistakes to Avoid
Technicians often misdiagnose freezer underperformance immediately after install by jumping to refrigerant charge or compressor issues when the real failure lives in the control layer or sensor calibration:
- Assuming the AI system auto-configures setpoint and differential — most PLCs ship with default 38°F grocery-cooler settings that must be manually overridden to -10°F freezer target with 5°F differential.
- Ignoring MQTT sensor offset errors — cheap thermistors commonly read ±2°F out of box; if the box sensor reports 3°F when actual temp is 5°F, the compressor never gets a call because the PLC thinks setpoint is satisfied.
- Overlooking inherited defrost schedules — if the EMS was cloned from a prior install, it may carry a 4×daily defrost cycle suitable for a high-humidity deli cooler, not a low-traffic freezer, causing unnecessary temperature spikes every six hours.
- Blaming low charge when superheat reads 18°F — that number often indicates TXV bulb poor contact or missing thermal paste, not undercharge; confirm bulb placement and insulation before adding refrigerant.
How to Fix It
Start with the control layer, then move to mechanical. Verify the PLC or EMS setpoint reads -10°F to 0°F with a 5°F differential — compressor cut-in at 0°F, cut-out at -5°F. Poll the raw sensor value via the EMS dashboard or PLC display; if it disagrees with your calibrated digital thermometer by more than 1°F, apply the offset correction in software or replace the thermistor. Confirm MQTT publish interval is 1–5 minutes and the last reported timestamp is current — a stale sensor feed means the compressor runs blind.
Defrost Schedule and Termination Logic
Set defrost to terminate on coil temp 45–50°F OR 30 minutes maximum, whichever occurs first. For a new low-traffic freezer, start with 2×daily defrost at off-peak hours; monitor coil frost accumulation over 72 hours and adjust. Verify evaporator fan delay post-defrost is 60–90 seconds — fans starting too early re-freeze melt water on the coil, blocking airflow and killing capacity. Our defrost schedule optimization for freezers guide covers timing intervals by load profile.
Refrigerant-Side Checks
Measure superheat and subcooling field measurements with the system running: target 8–12°F superheat at evaporator outlet, 10–15°F subcooling at condenser outlet. If superheat exceeds 15°F, inspect TXV bulb contact — remove insulation, apply thermal paste, strap bulb at 4 o'clock on suction line, re-insulate with armaflex. Check head pressure control if ambient is below 30°F — some condensers won't build enough head to feed the TXV without a fan-cycle or damper control active.
How EMS Monitoring Catches This Earlier
AI-enabled EMS platforms flag post-install configuration errors within the first 24 hours by tracking setpoint deviation and compressor runtime ratio. If box temp remains above -2°F for six consecutive hours while the compressor runs 90%+ duty cycle, the system alerts for possible sensor offset, insufficient charge, or airflow blockage. CoolriteEMS monitoring flags defrost termination failures after the second cycle that exceeds 35 minutes, indicating a stuck relay or failed coil sensor. Sensor drift — when reported temp diverges from historical baseline by more than 3°F under identical load — triggers a calibration check notification before product loss occurs.
When to Call a Pro
Call a licensed technician immediately if you observe refrigerant leak evidence — oil staining at flare fittings, hissing, or suction pressure below 2 psig. Electrical issues — tripped breaker on startup, compressor humming without starting, or burnt-wire smell — require professional diagnosis to avoid equipment damage or fire risk. If superheat and subcooling both read outside target ranges after TXV bulb correction, the system likely needs charge adjustment or component replacement covered under walk-in freezer installation services warranty. Do not add refrigerant without recovering, evacuating, and weighing in the factory charge per nameplate.
Frequently Asked Questions
Why does my newly installed AI-enabled freezer stay at 5°F instead of reaching -10°F setpoint?
Most common cause: the PLC inherited a 0°F setpoint from the previous unit's configuration file, or the MQTT temperature sensor has a +3°F to +5°F offset that wasn't zeroed during commissioning. Verify both the PLC setpoint parameter and sensor calibration before adding refrigerant or adjusting the TXV.
How do I verify MQTT sensor accuracy after walk-in freezer installation?
Submerge the probe in an ice-water slurry (32°F reference) and compare the MQTT-published value on your dashboard or PLC display. Acceptable tolerance is ±2°F. Beyond that range, recalibrate the sensor offset in the EMS software or replace the thermistor if calibration doesn't correct the drift.
What superheat and subcooling readings confirm proper refrigerant charge on a new freezer install?
Target 8–12°F superheat at the evaporator outlet and 10–15°F subcooling at the condenser outlet. Superheat below 5°F indicates overfeeding (TXV bulb loose or bulb sensing wrong); subcooling below 5°F suggests undercharge. Both require superheat and subcooling field measurements with calibrated gauges, not guesswork.
How long should a walk-in freezer take to pull from 40°F down to -10°F after startup?
Expect 6–10 hours for an empty box, 12–18 hours if product-loaded, assuming correct charge and airflow. If the box stalls above 0°F after 12 hours, you have a mechanical issue—low charge, TXV restriction, condenser fouling, or evaporator icing—not a control-system glitch.
Freezer still won't pull below 5°F after running this diagnostic protocol? Book a 30-minute remote session with our technicians—we'll review your PLC event logs, MQTT sensor data, and defrost timestamps over screen-share to isolate the failure point and get you to setpoint.
Related: Emergency Refrigeration Repair 24/7 in American Canyon CA.
Related: Walk-In Freezer Repair American Canyon CA.
Related: Emergency Refrigeration Repair 24/7 in Napa CA.
Related: See our transparent pricing for refrigeration repair, browse customer success stories, or get a quote at your local service area.